搭建一个博客网站
本系列手把手教你使用 GitHub Pages 和 Hugo 创建一个属于你的网站,包括博客系统,笔记系统等。
无需购买服务器资源。
创建博客
注:你也可以使用 hexo, jekyll 等其他静态博客生成工具,详情自己百度。
安装 hugo
MacOS 安装 hugo
# 若未安装 homebrew,参考这里安装:https://treehouse.github.io/installation-guides/mac/homebrew
brew install hugo
其他系统参考:
创建博客
# ilivelearnteach.github.io 为本地目录名,可以随意更改
hugo new site ilivelearnteach.github.io
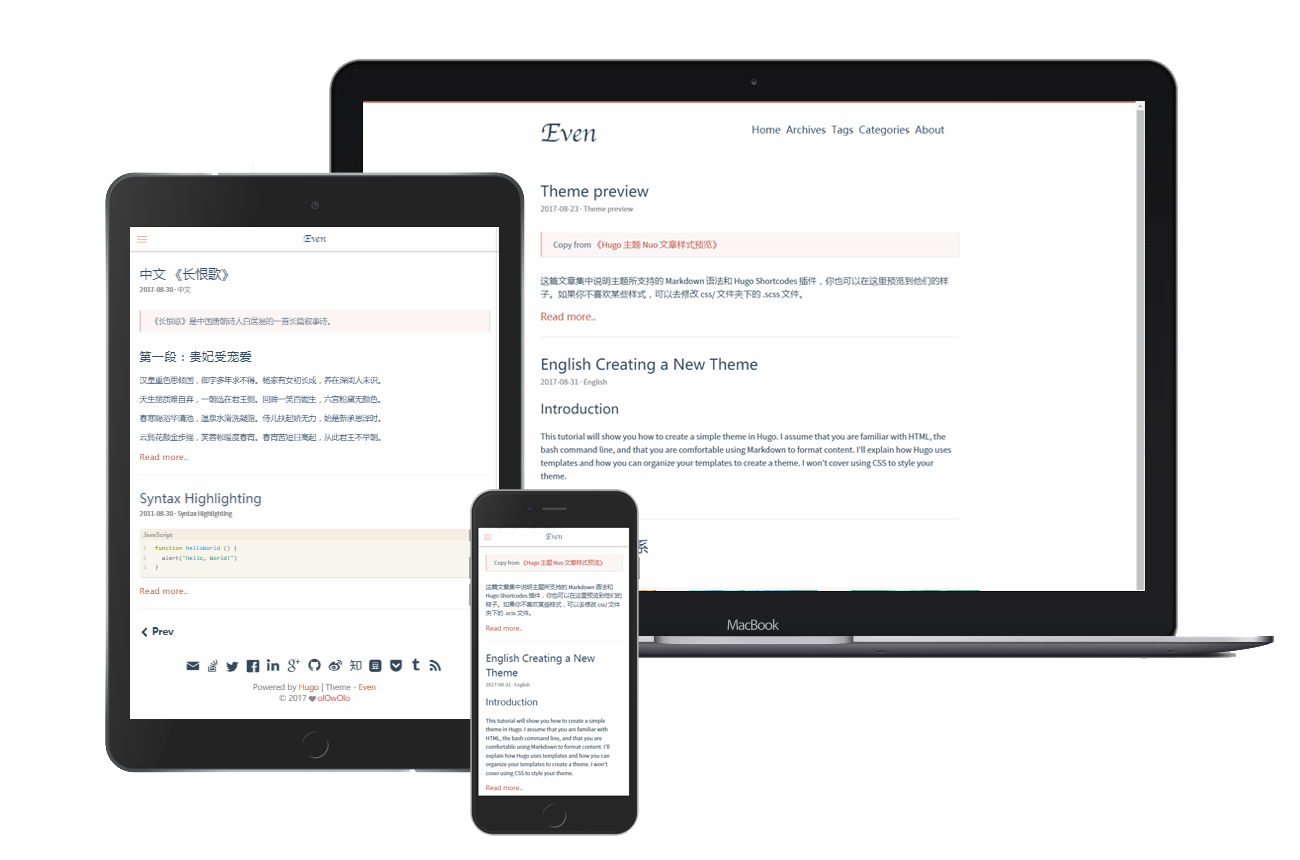
选择一个主题
假设你喜欢主题 Even
# 进入你刚创建的博客目录
cd ilivelearnteach.github.io
# 使用 git 管理你的博客
# 不了解 git 的同学,可以参考教程进行学习(重要不紧急):https://www.liaoxuefeng.com/wiki/896043488029600
git init
# 添加 even 主题
git submodule add https://github.com/olOwOlo/hugo-theme-even themes/even
更多主题见:Hugo Themes
配置博客
(假设使用 Even 主题)在主题的 exampleSite 目录下有一个 config.toml 文件,将这个 config.toml 文件复制到你的站点目录下,根据自己的需求更改即可。
注意修改 baseURL 为 "http://ilivelearnteach.github.io/"
注:具体配置请参考你选择的主题的官方文档
创建博客文章
# 创建博客文章
hugo new post/my-first-post.md
# 然后打开文件 `ilivelearnteach.github.io/content/post/my-first-post.md`,
# 把 `draft: true` 改成 `draft: false`

# 注意:even 主题使用的是 post,但是很多主题是 posts,所以是下面这个命令,
# 还是那句话,具体参考你选择主题的官方文档
# hugo new posts/my-first-post.md
本地预览博客
hugo server
打开 http://localhost:1313/ 就可以预览你的博客了
部署博客
注:你还可以使用 GitLab,Bitbucket,或者国内的 gitee,coding.net 等部署博客。
详情参考:Hugo Hosting & Deployment 或者进行百度搜索。
注册 github 账户
假设用户名为 ilivelearnteach
创建仓库
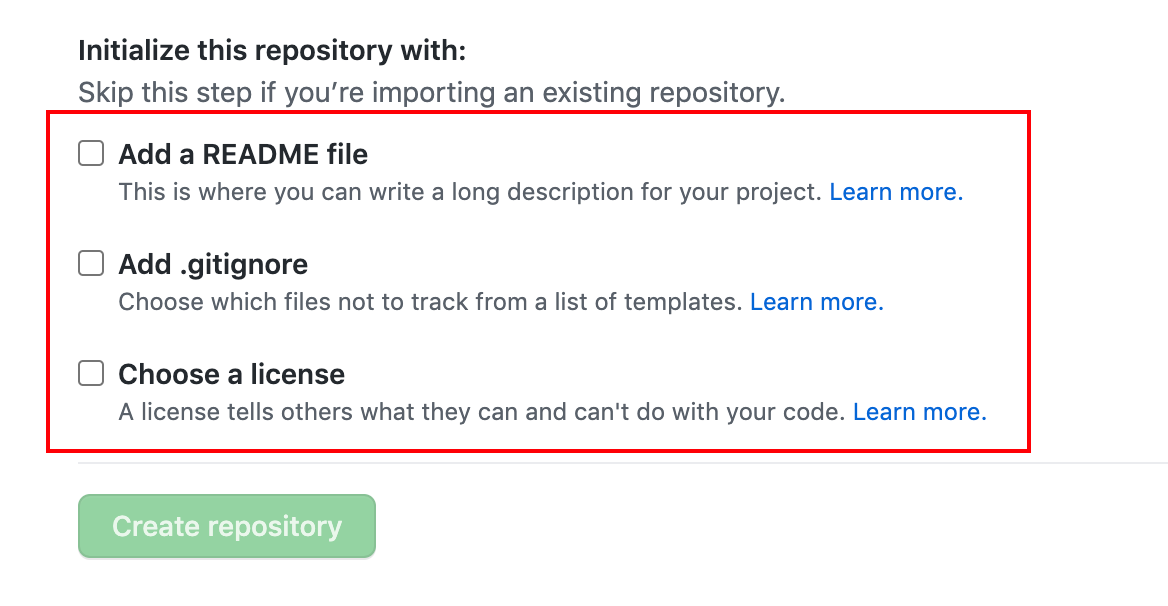
创建仓库 ilivelearnteach.github.io
- 仓库名必须是
你的用户名.github.io - 这三个必须至少勾选一个(使仓库生成 main 分支,否则后续会出错)
提交博客
使用 submodule 管理博客内容
# ilivelearnteach 换成你的用户名
git submodule add -b main https://github.com/ilivelearnteach/ilivelearnteach.github.io public
生成博客内容并提交
# 生成博客内容
hugo

# 进入 public 目录
cd public

# 提交博客到 git 管理
git add .
git commit -m "my first blog"

# 提交博客到 github
git push origin main
稍等一会儿,直接访问 https://ilivelearnteach.github.io/ 就可以看到博客了。
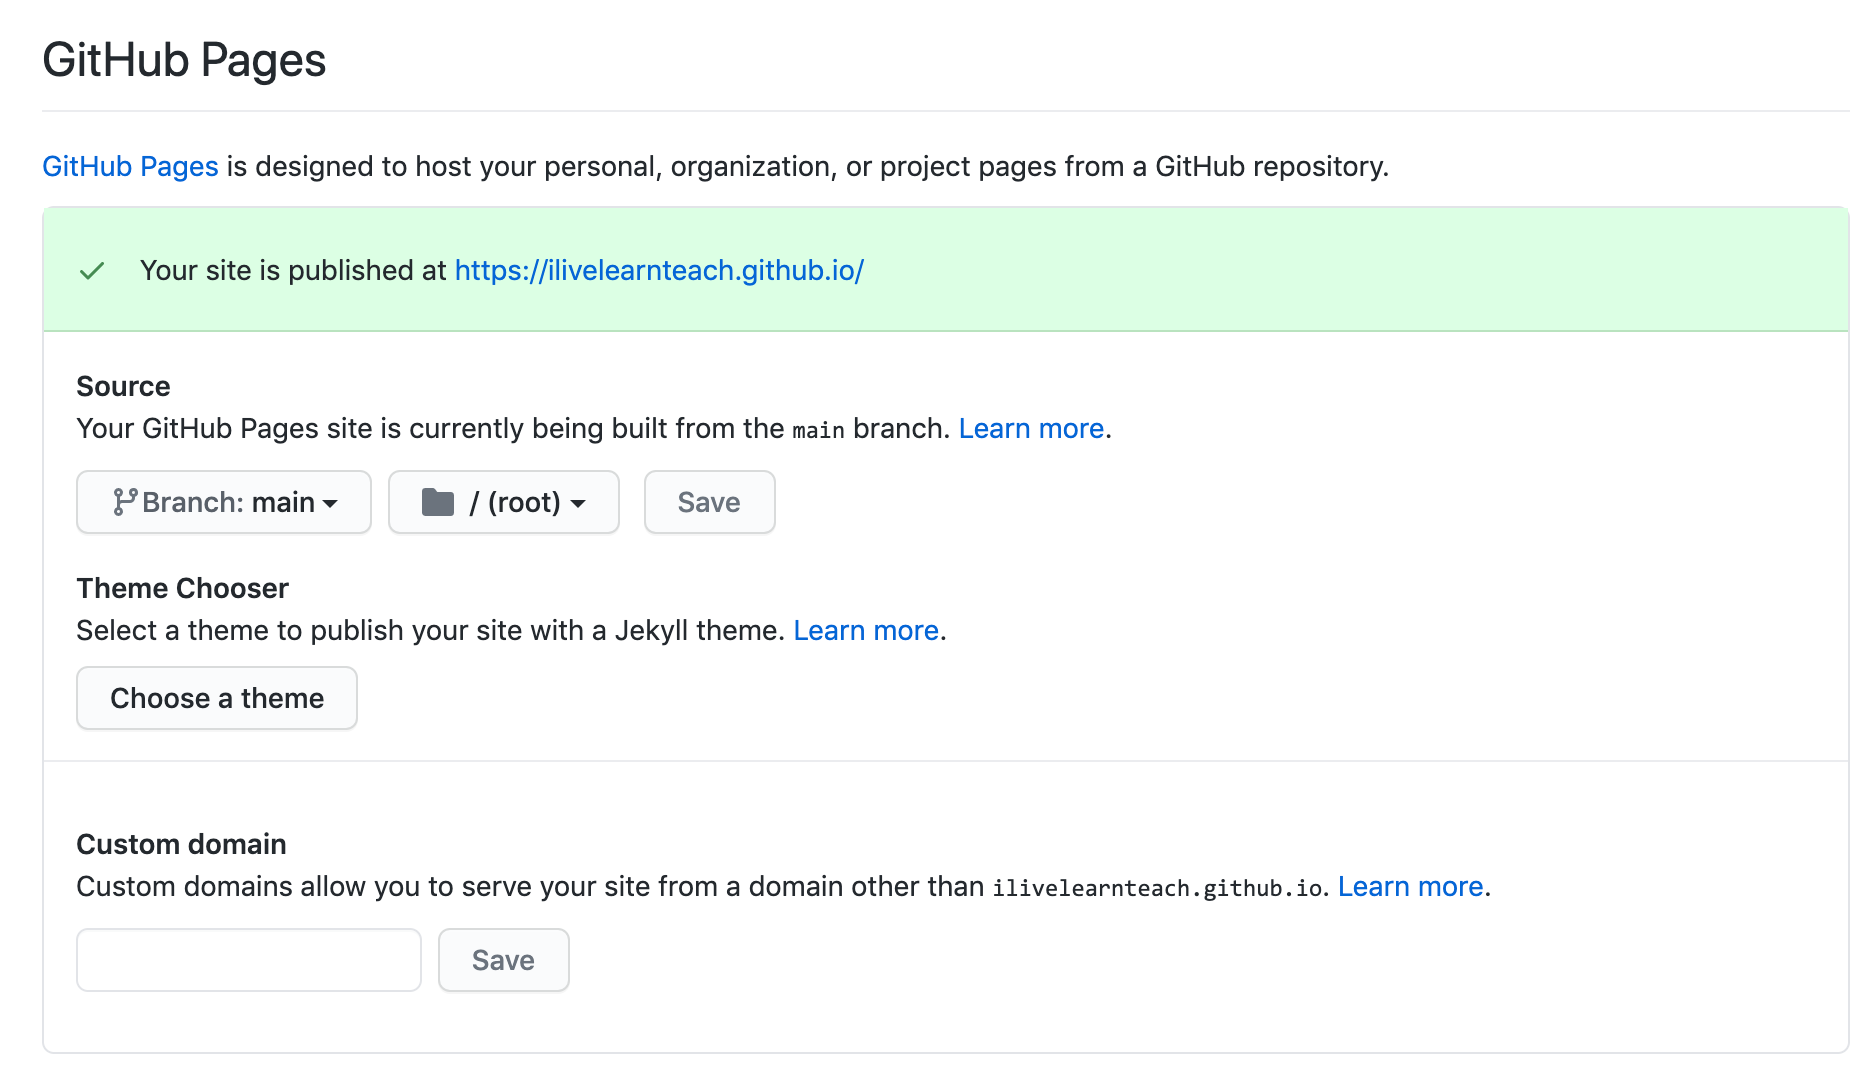
PS: GitHub Pages 会自动开启。
打开 https://github.com/ilivelearnteach/ilivelearnteach.github.io 的 settings 页面即可以看到。
如果没有自动开启 GitHub Pages,就手动选择 main 分支,/ (root) 路径,点击 Save 即可。
更多详情参考:Hugo Host on GitHub
我们已经搭建了一个基本的博客系统,你已经可以使用喜欢的编辑器(推荐 VSCode) 进行文章编写,使用 Git 提交修改到 GitHub,由其自动部署到 GitHub Pages,读者就可以读取到你的新博文。
但是还存在一些问题,比如:
- 我们只提交了博客生成的数据,而博客原始数据并没有提交到 GitHub,如果你的博客源码丢失了,就无法找回;
- 编写博客后,我们需要手动进行 git 管理,没有实现自动化;
管理原始数据
新建仓库
如 ilivelearnteach.com
注:建议为私有仓库,保护博客源码。
提交原始数据
# 进入你的博客目录
cd path-to-your-blog/

# ilivelearnteach.com 为新建的仓库名
git remote add origin https://github.com/ilivelearnteach/ilivelearnteach.com

# 提交内容
git add .
git commit -m "my blog code"

git branch -M main
# 提交博客到 github
git push -u origin main
自动化脚本
想实现的目标是:每次创建或更新博文,执行 ./deploy.sh 命令,一键完成所有后续动作。
创建脚本
在博客根目录创建脚本文件 deploy.sh,内容为:
#!/bin/sh

set -x
# 可以修改成自己的博客名
printf "\033[0;32m ilivelearnteach.com Deploying updates to GitHub...\033[0m\n"
cd $(dirname "$0")

# Commit changes.
msg="rebuilding site $(date)"
if [ -n "$*" ]; then
	msg="$*"
fi

# update the theme
git submodule update --remote
# remove old files
rm -rf public/*
# Build the project.
hugo

# Go To Public folder
cd public
# Add changes to git.
git add .
git commit -m "$msg"
# Push to blog repo and trigger building blog.
git push origin main

# push to source repo
cd ..
git add .
git commit -m "$msg"
git push origin main
运行脚本
# 修改文件属性为可执行(只需要第一次执行)
chmod +x deploy.sh

# 创建或修改博客
# 创建博客文章
hugo new post/my-second-post.md
# 然后打开文件 `ilivelearnteach.github.io/content/post/my-second-post.md`,
# 把 `draft: true` 改成 `draft: false`

# 执行脚本,自动提交博客源码和生成的博客到 GitHub,博客将自动更新
./deploy.sh

# 当然你可以写 commit 信息,记录本次博客更新的内容
# ./deploy.sh "Your optional commit message"
readmore 效果,导流到公众号
<script src="https://readmore.openwrite.cn/js/readmore.js" type="text/javascript"></script>
<script>
    const btw = new BTWPlugin();
    btw.init({
        id: 'article',
        blogId: '17463-1635735167913-236',
        name: '叶王说',
        qrcode: 'https://cdn.jsdelivr.net/gh/ikingye/imagehost/file/叶王说%20微信公众号%20二维码%20搜一搜.png',
        keyword: '博客',
    });
</script>
TODO:
- 创建一个包含多个博客的网站,效果参考:https://kingye.me
- 统计与评论
本文访问量 次
本站总访问量 次
本站总访客数 人